6 Essential Phases of UX Design Process | Vimal Bhatt
By: Vimal Bhatt

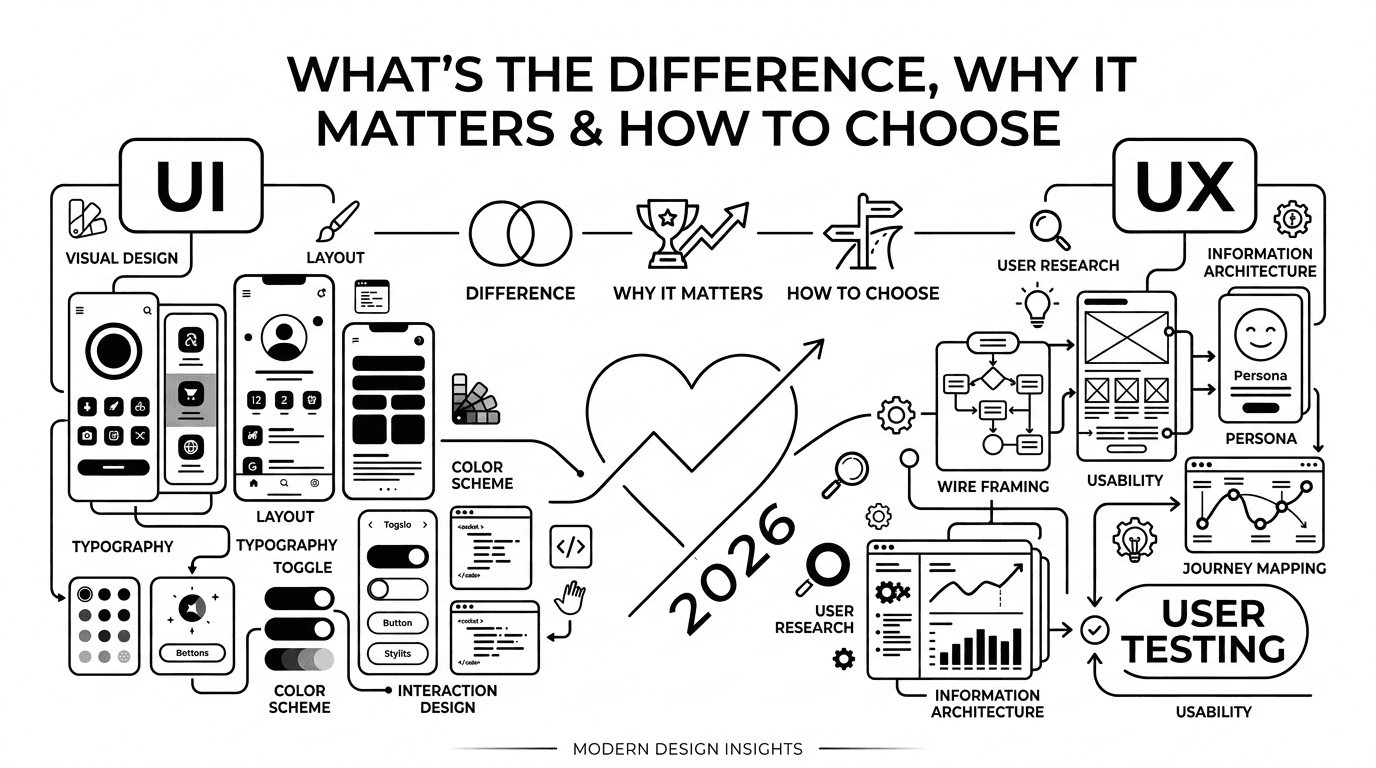
Whether you're new to UX or a seasoned designer refining your workflow, understanding a structured UX design process is crucial for creating successful user experiences. Great UX design isn’t just an accident. It's crafted through research, strategic thinking, and ongoing testing with real users. But before diving into UX design, it’s important for us to first identify what exactly sets UI apart from UX, the difference between UI/UX, why it matters, and how to choose between them.
In this guide, we’ll walk you through the 6 key steps of the UX design process, from understanding your users through in-depth research to validating your ideas with real-world testing. These steps will help you create products that aren’t just usable, but genuinely meaningful and enjoyable.
Value of a process in UX
Think of the whole UX design process like building a house. You wouldn’t start by picking out paint colours before laying the foundation, and framing the walls. The UX process acts as your blueprint. It ensures that you’re building the right house, for the right people, saving you from costly rebuilds (and a lot of user frustration) down the line.
Why a Structured UX Design Process Sets You Up for Success
This framework isn’t a rigid, one-way street. The whole design process is an iterative cycle, a loop of learning and improving. Following these six steps set you up for success by ensuring that every design decision is grounded in real user needs, not just hunches. Now, let us dive into the actual process.
Step 1: Understanding User Needs
This step is where every great product begins. Not with designing software, but with actual people.
What you need to do: Conduct UX research methods like user interviews, to hear stories and the problems they are facing straight from the people. Run surveys to gather data from a wider audience. If you know their needs and requirements then it is easy for you to respond. Perform a competitor audit, also called competitor analysis (a review of similar products) to see what’s already working, or not working in the market.
For beginners or those in the early stages of their career, an in-depth competitor audit is enough.
The goal here is to stop guessing and start understanding your users’ real needs, goals, and pain points. You’re defining your users’ core goals, frustrations, and the context in which they’ll use your product.
The output is a pile of raw, qualitative data (user quotes, stories, observations), which acts as an essential fuel for the next step.
Step 2: Analysis and Synthesis
At this point, you have a lot of information, which can feel overwhelming. Synthesis means turning your research into clear patterns and insights. It's where the mess becomes meaningful.
What to do:
Create user personas to personify your different user types. Create fictional, archetypal users that represent the different key groups you’re designing for. A good persona includes demographics, goals, frustrations and a brief bio. These ensure that you personify the user as a “Mark”, or a “Sarah”, not just a random, vague “user”.
Use user journey mapping to visualize the entire experience a person has while trying to achieve a goal. Map out their steps, thoughts, feelings, and pain points across a timeline.
Use techniques like affinity mapping (where you can write down individual observations and quotes from your research, then group them together based on natural themes that emerge). This reveals pain points and user needs without any prior bias.
The goal in this step is to transform your raw data into clear, actionable problem statements. This is often framed as a “How can we…” question.
For example, “How can we help busy parents quickly order groceries without feeling overwhelmed by choices?”
The output in this step is a shared understanding of who you’re designing for and the core problem you’re solving.
Step 3: Ideation
Now that you have a clear problem defined, it’s time to generate as many solutions as you can. At this stage, think broad before thinking better. The goal is to explore widely before narrowing in on the best ideas.
For this, you can:
Brainstorm ideas: Gather a diverse group(designers, developers, marketers) and set a timer. The rule here is, no idea is a bad idea. Build on the ideas of others.
Use design thinking techniques like Crazy Eights: A fast paced sketching exercise where you fold a paper into 8 sections, set a timer for 8 minutes, and sketch 8 distinct ideas for a single screen or problem. This forces quantity over preciousness.
Storyboarding in UX is where you sketch out a comic strip style of how a user would ideally interact with your solution or design in a real-world scenario. This helps you think through the entire experience, not just a single screen.
The goal in this step is to explore the diverse world of possibilities. The best solution often starts as a silly idea which is then refined and made more plausible.
The output in this step is a wide range of concepts, from the most obvious, to revolutionary ideas. Further, when you have this wide range, you can then vote for promising ideas to pursue.
Step 4: Prototyping From Low-Fidelity to High-Fidelity Designs
A prototype is a draft version of your product. It can be rough (like paper sketches) or polished (like clickable mockups). What matters is that it lets you test your ideas. The level of detail in your prototype is known as fidelity. It refers to how closely the prototype resembles the final product in look, feel, and functionality.
What to do in this step:
Low Fidelity: Start with paper sketches, or simple digital wireframes, which are quick to make, and are also perfect for testing the basic flow and structure. Low-fidelity prototypes are fast, inexpensive tools used early in the design thinking process.
High Fidelity: High-fidelity prototypes simulate the look, feel, and behavior of a final product using tools like Figma, Adobe XD, or UX prototyping tools. You can use these for more nuanced testing of visual design or micro interactions.
The Goal in this step is to create a tangible, testable artifact. A prototype is your cheapest and fastest chance to fail and improve before any actual work is done, or any line of code is written. It answers the most basic question: “Does this feel right?”
The output that you’ll get in this step is a clickable model that simulates the key user flows of the proposed solution.
Step 5: UX Testing and Usability Validation
This is the moment of truth, where you take your prototype and put it in front of real people from among your target audience. As the Nielsen Norman Group suggests, testing with just 5 users is often enough to uncover the vast majority of usability problems. For beginners who are just starting out, you can simply share your design in social media communities where there are thousands of people who can help you in this.
What you can do in this step:
Usability Testing: Sit a participant down with your prototype and give them realistic tasks(for example, “Find a pair of running shoes and add them to your cart”). Your job here is to observe, not instruct. Watch where the participant hesitates, clicks, or feels frustrated.
Heuristic Evaluation: Here, an expert (like a UX designer) reviews the design against a set of established usability principles (e.g., “Visibility of system status”, “Error prevention”).
A/B Testing: This is usually done with a live product, where you show two different versions of a design to users to see which one performs a specific task better (like to see which button gets more clicks).
Your goal in this step should be to validate your design decisions and uncover issues which you hadn’t noticed earlier. This is to say, are you solving the problem you had defined or discovered in Step 2?
Here, the output is that you get a list of specific, actionable insights, like what worked, what didn’t and why, that help you directly inform the next step.
Step 6: Iterative Design and Continuous Improvement in UX
A usability test is a final exam. It’s a study session. The goal isn’t to pass or fail, but to learn and improve. The feedback you get isn’t a verdict. It’s a guide for improvement. This is where the iterative nature of UX truly shines. The iterative UX design process means every version of your product should be better than the last.
What to do in this step:
Go back to your prototype, or sketches from Step 3, and refine the design based on the test results. Fix the critical problems you found. This should lead to another, quicker round of testing to see if your fixes worked.
Even after launch, use analytics and UX feedback loops to refine and enhance the experience.
The Goal should be to continuously improve the product. This cycle of design->test-> refine is like the heartbeat of UX. It continues even after the product launch, as you gather more data and user feedback.
The output is that you get a better, more validated design, a prioritized list of improvements for the development team, and a clear plan for what to test in the next version.
Conclusion
The most important thing to remember here is that UX is never “done.” It’s a loop of learning, designing, testing, and refining. It’s a process that evolves with your users and your product.
You will have to constantly loop back to earlier steps as you learn more. The goal, hence, is not to be perfect on the first try, but to just be less wrong with each iteration.
Some final tips for making this process work for you:
Keep it lean: You don’t need a massive budget for the whole project. Interviewing 5 users or analysing the competitor is still better than doing nothing. A paper prototype is better than an untested assumption.
Be Adaptive: This framework is a guide, not a rule you must abide by. Adapt the steps to fit your project’s size and constraints. If you’re a small startup, you might combine steps whereas a large corporation may spend months on each step.
Build empathy: At its core, UX is about empathy for the users. This entire process is just a structured way to care about the people using your product.
By following these steps, you’re not just designing a product; you’re building a better experience.
Furthermore, if you want to learn more about UI and UX, or need some tips, stay tuned for future upcoming posts. If you have a project you’d like for us to collaborate on, feel free to reach out and discuss with me.
Let’s build something
Amazing together!
© 2025 Vimal Bhatt. All rights reserved